How to optimise your UICollectionView implementation in Swift
For the last couple weeks, I tried to step back on my development to analyse what is time consuming in mobile development. I realised that most of new views are based on same approach, reimplementing an similar structure around a UICollectionView or UITableView.
What if I can have a more generic approach where I can focus only on what matters, the user experience. That’s what I tried to explore in this article.
Before we start, this tutorial implement an MVVM pattern, I already introduced how to implement MVVM in Swift, so I’ll focus on the UICollectionView and UICollectionViewFlowLayout only.
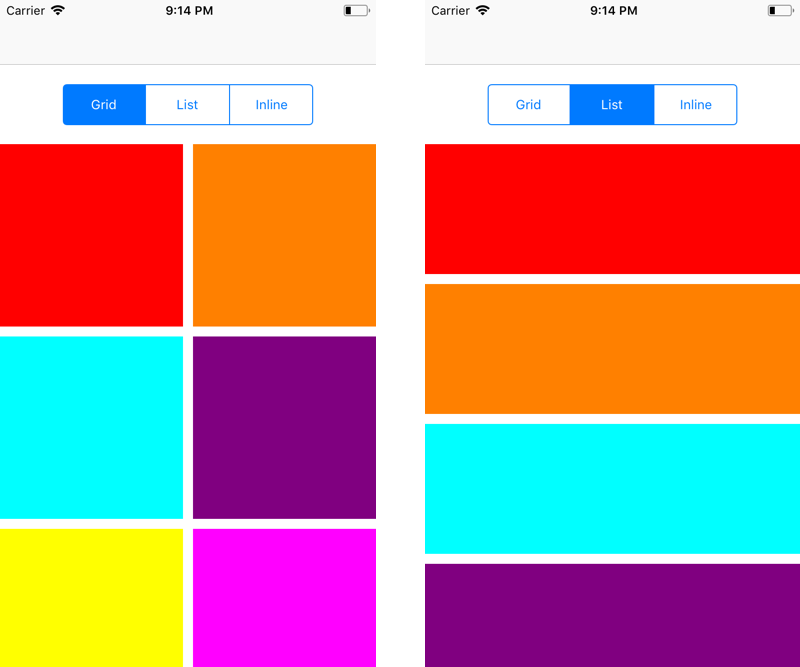
First, I listed what are the most common design while it comes to display data. Using famous apps like Apple Music, Spotify, Instagram or Youtube, I defined about 3 displays:
- Grid
- List
- Inline (one row of data scrolling horizontally)

In many cases, the content is the same in the whole screen, it’s only a different way to render it. My goal here is to show how to switch between those displays, reducing the amount of time to reimplement UICollectionViews in general and focus only on the design.
So I explored what UICollectionViewFlowLayout could do for me to dynamically swap between those displays.
A concrete layout object that organizes items into a grid with optional header and footer views for each section.
Exactly what I needed. Then I start implemented a custom UICollectionViewFlowLayout based on those displays.
class CustomCollectionViewFlowLayout : UICollectionViewFlowLayout {

    var display : CollectionDisplay = .grid {
        didSet {
            if display != oldValue {
                self.invalidateLayout()
            }
        }
    }

    convenience init(display: CollectionDisplay) {
        self.init()

        self.display = display
        self.minimumLineSpacing = 10
        self.minimumInteritemSpacing = 10
        self.configLayout()
    }

    func configLayout() {
        switch display {
        case .inline:
            self.scrollDirection = .horizontal
            if let collectionView = self.collectionView {
                self.itemSize = CGSize(width: collectionView.frame.width * 0.9, height: 300)
            }

        case .grid:

            self.scrollDirection = .vertical
            if let collectionView = self.collectionView {
                let optimisedWidth = (collectionView.frame.width - minimumInteritemSpacing) / 2
                self.itemSize = CGSize(width: optimisedWidth , height: optimisedWidth) // keep as square
            }

        case .list:
            self.scrollDirection = .vertical
            if let collectionView = self.collectionView {
                self.itemSize = CGSize(width: collectionView.frame.width , height: 130)
            }
        }
    }

    override func invalidateLayout() {
        super.invalidateLayout()
        self.configLayout()
    }
}
The idea is to give a direction to the scroll depending of the display (given by an enum), then config the item size based on it. For instance, I want to keep two columns for a grid, but only one for a list. The ideal is to calculate the optimized size based on collectionView.frame.width.
On the data side, I will use only colours, it’s easier to represent in a cell. It will be reflected in the background of the item. If you want to know more about the DynamicValue class, it’s part of my approach of MVVM and how to bind data into view.
class GenericDataSource<T> : NSObject {
    var data: DynamicValue<[T]> = DynamicValue([])
}

class ColorDataSource : GenericDataSource<UIColor>, UICollectionViewDataSource {

    func numberOfSections(in collectionView: UICollectionView) -> Int {
        return 1
    }

    func collectionView(_ collectionView: UICollectionView, numberOfItemsInSection section: Int) -> Int {
        return data.value.count
    }

    func collectionView(_ collectionView: UICollectionView, cellForItemAt indexPath: IndexPath) -> UICollectionViewCell {
        let cell = collectionView.dequeueReusableCell(withReuseIdentifier: "ColorCell", for: indexPath)

        cell.backgroundColor = data.value[indexPath.row]
        return cell
    }
}
Finally, we can put everything together into our UIViewController. I would have use a service layer or any other way to provide my data but here, I injected straight away the data into my dataSource as soon as my view is loaded.
class ViewController: UIViewController {

    @IBOutlet weak var collectionView : UICollectionView!

    lazy var collectionViewFlowLayout : CustomCollectionViewFlowLayout = {
        let layout = CustomCollectionViewFlowLayout(display: .grid)
        return layout
    }()

    let dataSource = ColorDataSource()

    override func viewDidLoad() {
        super.viewDidLoad()

        // define layout and dataSource
        self.collectionView.collectionViewLayout = self.collectionViewFlowLayout
        self.collectionView.dataSource = self.dataSource

        // bind data to collectionView
        self.dataSource.data.addAndNotify(observer: self) { [weak self] in
            self?.collectionView.reloadData()
        }

        // get data
        self.dataSource.data.value = [.red, .orange, .cyan, .purple, .yellow, .magenta]
    }
}
Be sure the UICollectionView is linked to your ColorDataSource, but also the collectionViewLayout is also implemented.
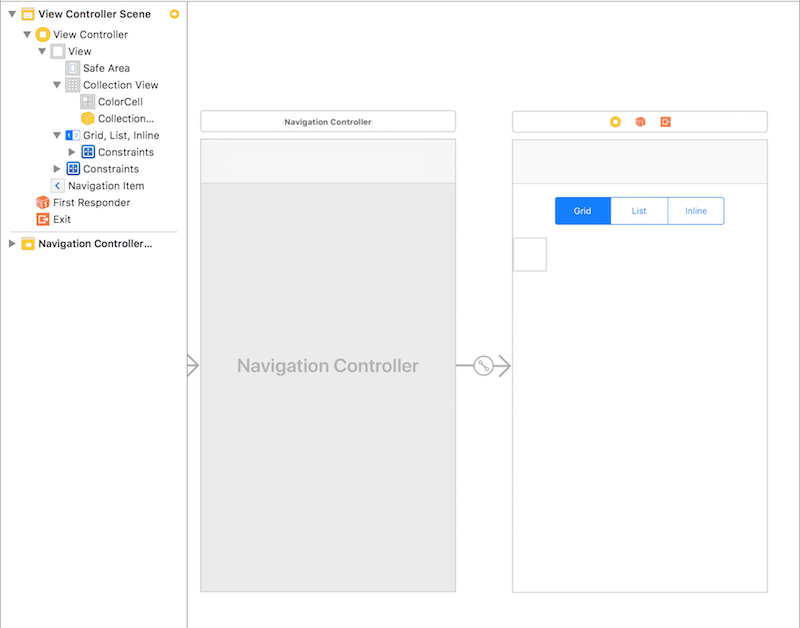
The Storyboard stays really simple, I don’t need a custom cell for to be able to reflect my data, so I only linked the UICollectionView to my UIViewController. I also added a segment control to update the display. Also, be sure to reuse the same identifier for your cell, for me it was ColorCell.
Now I’m adding the logic for my segment control into my UIViewController.
@IBAction func layoutValueChanged(_ sender: UISegmentedControl) {

        switch sender.selectedSegmentIndex {
        case 1:
            self.collectionViewFlowLayout.display = .list
        case 2:
            self.collectionViewFlowLayout.display = .inline
        default:
            self.collectionViewFlowLayout.display = .grid
        }
    }
The secret is that while updating the display it also invalidate the layout in didSet, which reconfigure the item size straight into the UICollectionView.
So now, we have a solution to quickly generate different kind of display for same type of content and that is a good way to accelerate our development.
To go further in that direction, we could imagine a UICollectionViewCell including a display parameter which will automatically switch the orientation of its content base on UIStackView for instance. We would spend even less time designing the content.
Back to our example, Spotify for instance, we can redo their homepage having 3 UICollectionViews into a UIStackView, each collection having display.
Obviously there is many other way to implement it, but I tried to focus on one that minimize the effort, especially if you can be asked to update it a month later.
At the end, we have a generic approach around collections, reducing the amount of code and focusing on the essential: the user experience.
The final project is available here on Github.
Happy coding