Create your private CocoaPod library
Libraries and external dependencies have always been a good way to avoid developers recreate something already existing. It’s also a good way to help each other and leaving something reusable. CocoaPods is the most used tool to manage dependencies around Xcode projects. Let’s see how to create your own private pod.
Creating a CocoaPod library remains in 3 main steps:
- Create your pod
- Package and test
- Distribute your framework
Let’s get started
Create your pod
Before everything, let’s create a git repo to be able to expose your pod later. I chose Github and named my repo “DistanceFramework”, a basic distance converter toolbox.
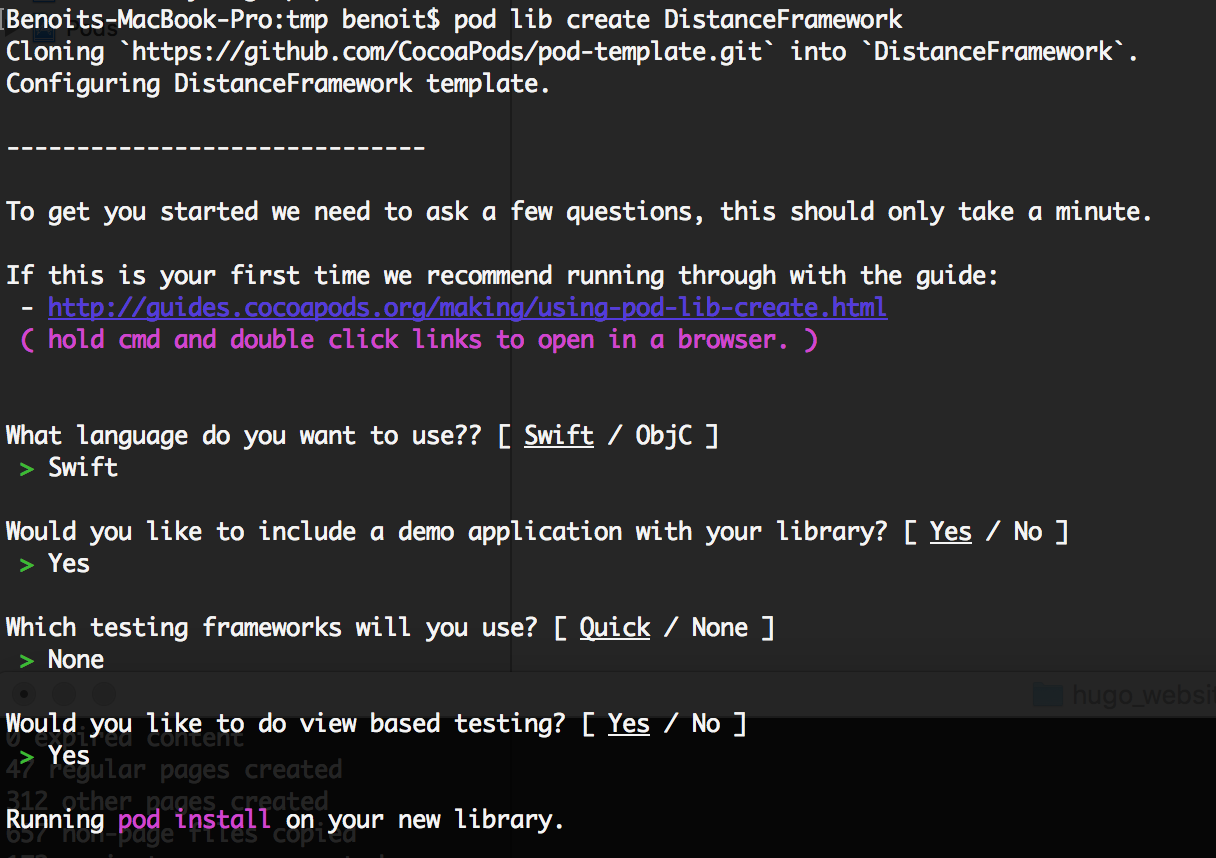
Once the repo ready, we’ll create an Xcode project for our pod. To do so, Cocoapods already have template ready for that, running this following shell command will prepare it for you
pod lib create [YOUR POD NAME]
Running that command, you can customize your install, choosing Objective-C vs Swift, including a demo app or a testing environment. By default it will also generate a CocoaPod podspec file for you. In my specific case, I chose to have a demo app.
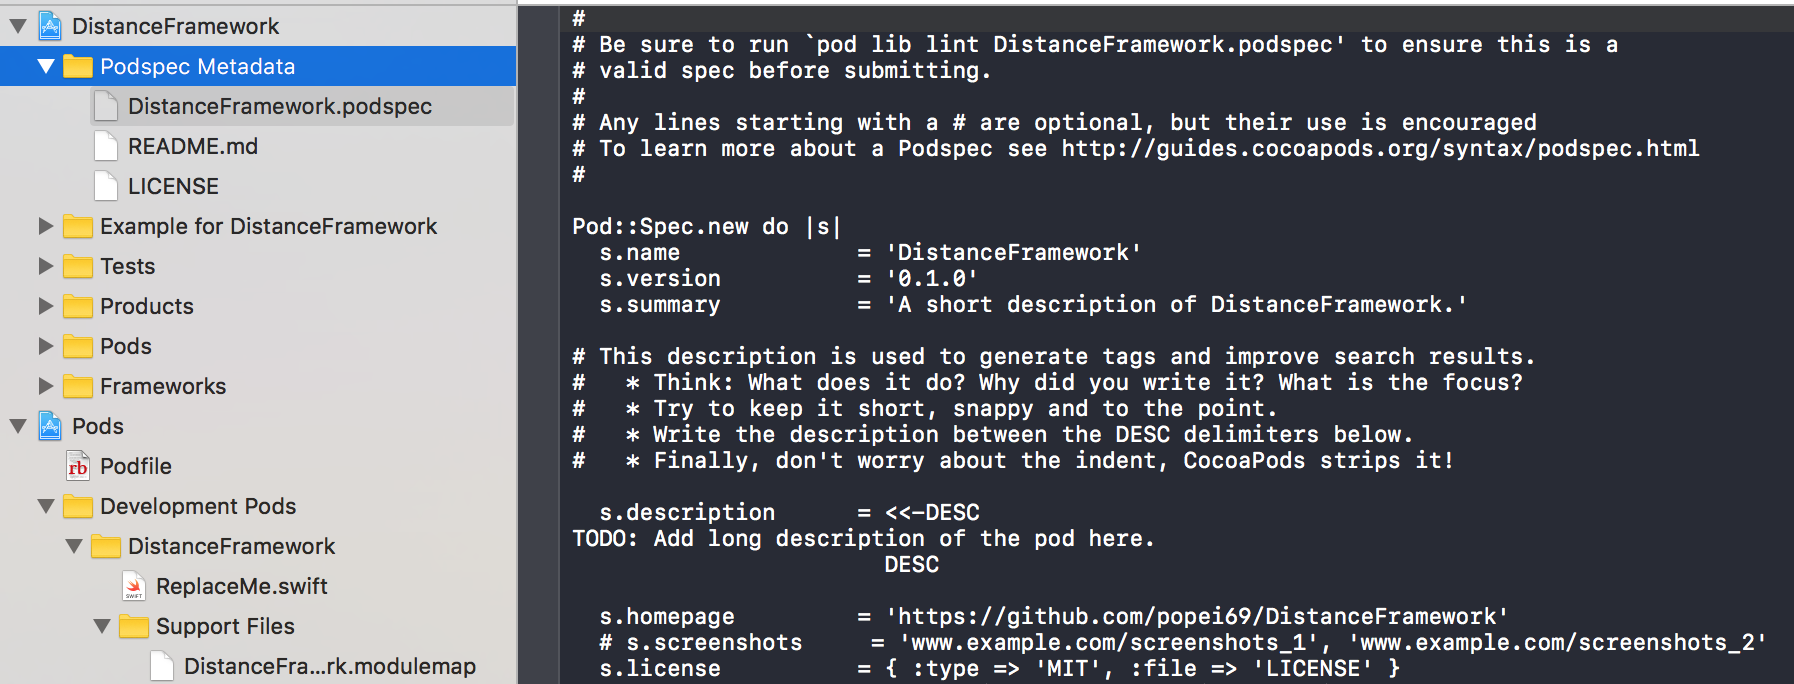
At the end, your Xcode project will launch automatically. In the Pod project side, under Development Pod we can see my freshly created framework, that’s where we are going to add our reusable code.
On the other side of the workspace, that is the demo app. You’ll notice a podspec file, that’s where we are going to define the git repo to expose our pod, but also screenshots, license, dependencies to other framework eventually etc.
First thing to do is to update the podspec and run pod install into the demo app to reload the content. Once done, we’ll just need to add files and assets into the development pod itself, Xcode will be able to catch up with the changes.
While creating files in your pod, you need to keep in mind what you want to expose, by default nothing will be available if you don’t specifically add public or open to files you want to use. It’s a very good exercise to keep things tidy too.
After adding couple classes in my pod and a view controller in my demo app, the framework is fully working and ready to be consumed in the main app. I have my first version, let’s prepare it for a release.

Package and test
First, we need to save our current version on Github. On my side, it’s mainly based on commit my latest changes.
If it wasn’t done before, it would be a good thing to add some test cases around your demo app or pod itself. It will help you to prevent bugs with new versions but it’s also a quality check for next developers.
Another good tip is to avoid as most at possible dependencies from other pods. That can avoid conflicts for developers if your pod need a specific version of AFNetworking for instance and the developer has another installed. It’s also a good exercise to focus on the core feature.
Before releasing, it might also be good to double check you podspec file. It can be about its description, version, assets, anything you would like to update, it’s the right time to do it.
Once you feel your pod is ready, let’s check if everything can be build one more time with this following command
pod lib lint [YOUR_POD_NAME].podspec
This will help to detect any issues, like compiling errors but also warning around code synthax and many more tips. If you framework passed validation, you’re good to go.
Finally, after tagging your git repo with your same podspec version, your pod is ready for private use.
Distribute your framework
So far, we only created a private pod. It’s not yet exposed publicly to CocoaPods, the only way to consume it would be as following
pod 'YOUR_POD_NAME', :git => 'GITHUB_URL'
To make it available on CocoaPods platform, you’ll need to go throw trunk, their authentication system to submit it.
pod trunk push [YOUR_POD_NAME].podspec
On the other side, if you want to expose your pod to a private repository you already created in your organization for instance, here is the way to go
pod repo add [YOUR_REPO_NAME] [GITHUB_URL]
In conclusion, we managed to create a unique code that can easily be reused in any project and eventually help other developers. In my own opinion, the real challenge is to limit the amount of features available in the library to its core values but also avoid dependencies to other frameworks.
This exercise can also really help on a daily basis to avoid mixing code layers in project where we know everything is exposed under the same umbrella and keep the code tidy