Migrating an iOS app to SwiftUI - Navigation & Storyboards
If SwiftUI is great for many things, migrating completely an existing app codebase to it can be really tricky. In a series of blog posts, I’ll share how to migrate an iOS app written in Swift with UIKit to SwiftUI. Today, let’s start with the navigation and the UI components with storyboards.
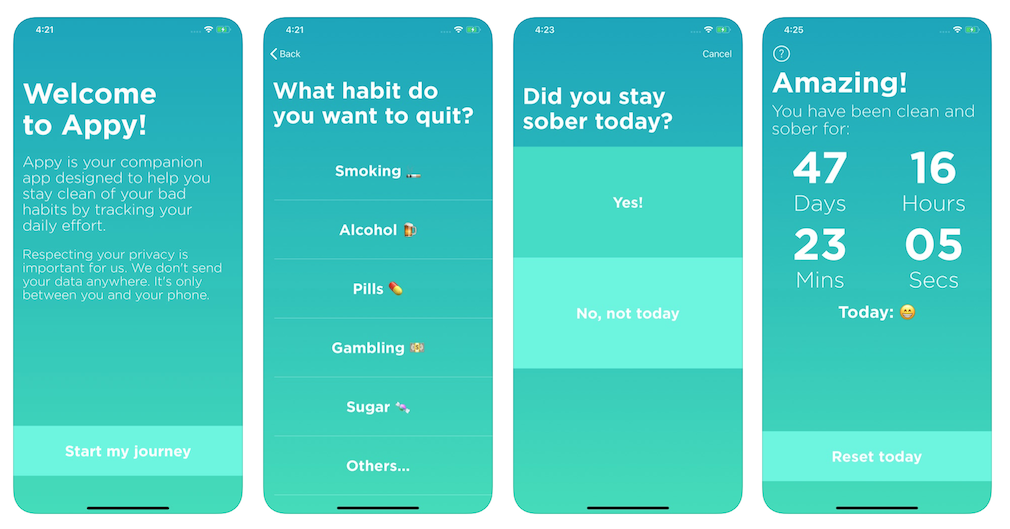
Almost two years ago, I’ve released an app to help people quit their bad habits. It contains a database, an onboarding journey and a dashboard. It’s a fairly simple app.
The goal of this series of blog posts will be to fully migrate it to SwiftUI. This week I start with probably the most exciting part, the design and navigation.
At the moment the app uses auto-layout across different storyboards for the UI. If it’s the first time the user launches the app, it goes through an onboarding journey to pick what habit to quit.
Once defined, the next launch will go straight to its dashboard where the user can keep track of the time being sober and log new records.
To tackle this migration, I’ll start first with the onboarding journey, then move toward the dashboard and logging screens.
Onboarding
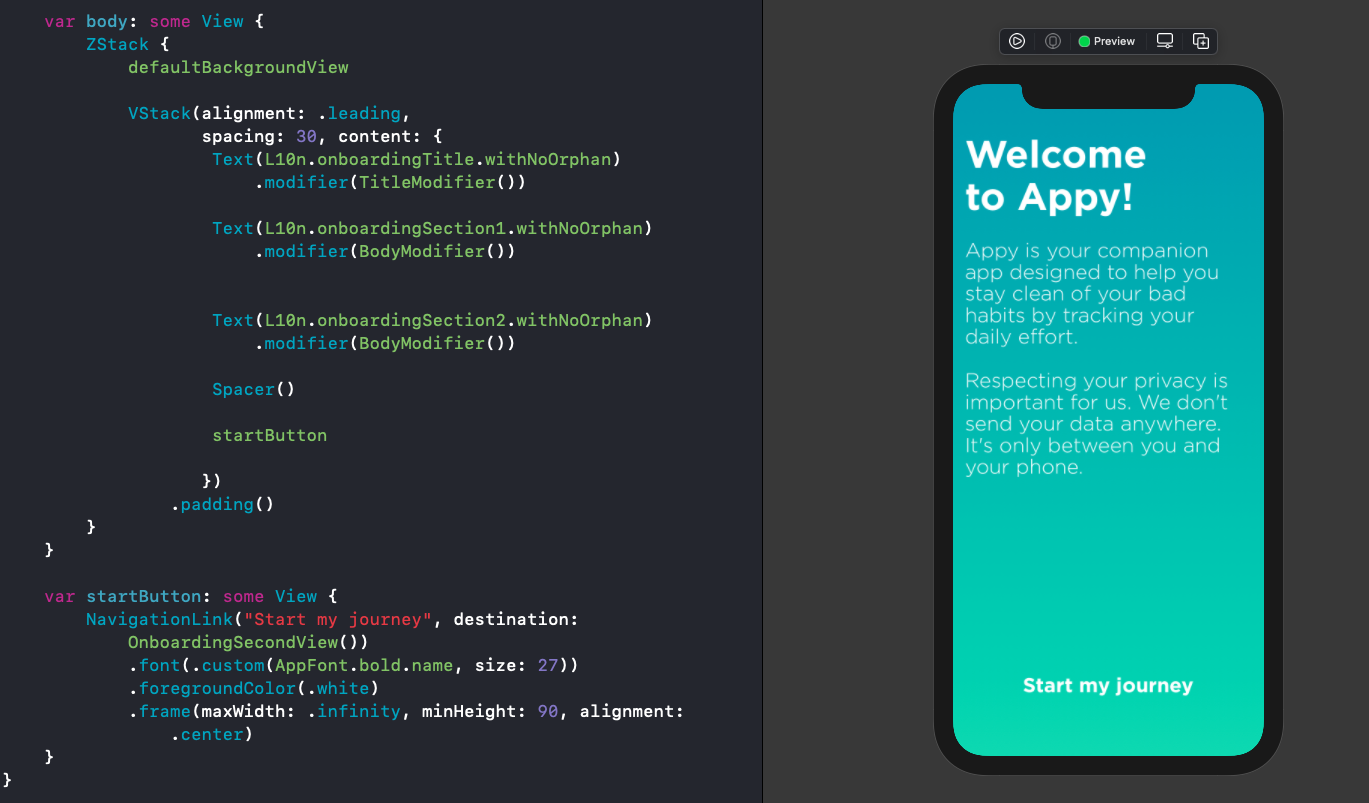
The design of the onboarding is really simple, it includes different steps to introduce the app and its content. I create new SwiftUI View side by side to my previous UIViewController and .storyboard files to make sure I got the design right.
First challenge is to use a custom font. Apple has great set of font and weight to automatically resize them but my previous version used a custom font, so does this new SwiftUI version.
Text("Hello")
    .font(.custom(AppFont.light.name, size: 27))
    .foregroundColor(.white)
To create a reusable style, I’ve implemented different variation of modifiers to be more handy.
struct TitleModifier: ViewModifier {
    func body(content: Content) -> some View {
        content
            .font(.custom(AppFont.bold.name, size: 51))
            .foregroundColor(.white)
    }
}
Regarding the navigation, there is no more UINavigationController, it got replaced with NavigationView.
So far, so good.
One thing I was really surprised is how easy it is to prepare this transition. My app relies on an AppDelegate for the launch (amongst other things) but it only required to define an App with @main to define the new journey.
//@UIApplicationMain
class AppDelegate: UIResponder, UIApplicationDelegate {

    var window: UIWindow?

    func application(_ application: UIApplication, didFinishLaunchingWithOptions launchOptions: [UIApplication.LaunchOptionsKey: Any]?) -> Bool {
        // prepare views and window
    }

    // ...
}

@main
struct AppyApp: App {

    var body: some Scene {
        WindowGroup {
            NavigationView {
                OnboardingFirstView()
            }
        }
    }
}
If I want to launch against the UIKit version, I can comment @main from the app and uncomment @UIApplicationMain to fall back on the previous version. That makes the transition much safer for me to compare behaviors.
Most of the design is straightforward and makes the code migration really enjoyable.
Before the end of the onboarding, the mobile user can pick an activity he wants to quit or create its own. At the moment, I haven’t migrated the database structure to be identifiable through SwiftUI so I’ll come back to it later.
Finally, if the user wants to add its own activity to quit, I’ll also need to add this into the database. This isn’t ready yet either, but I can user UserDefaults layer to mock the onboarding has been completed.
Something I noticed through the implementation of the navigation between those screens is the usage of Button over NavigationLink. In my previous UIKit version, I tend to reuse components to sometimes present or push a new view.
However, this is isn’t easily available in SwiftUI. I want to avoid having a condition to define a NavigationLink or a Button depending of the journey. It means that if small views should be reusable, I need to be careful of the reusability of the whole screen itself for a different journey.
Alright, the on boarding is ready, we can dive into the dashboard side.
Dashboard
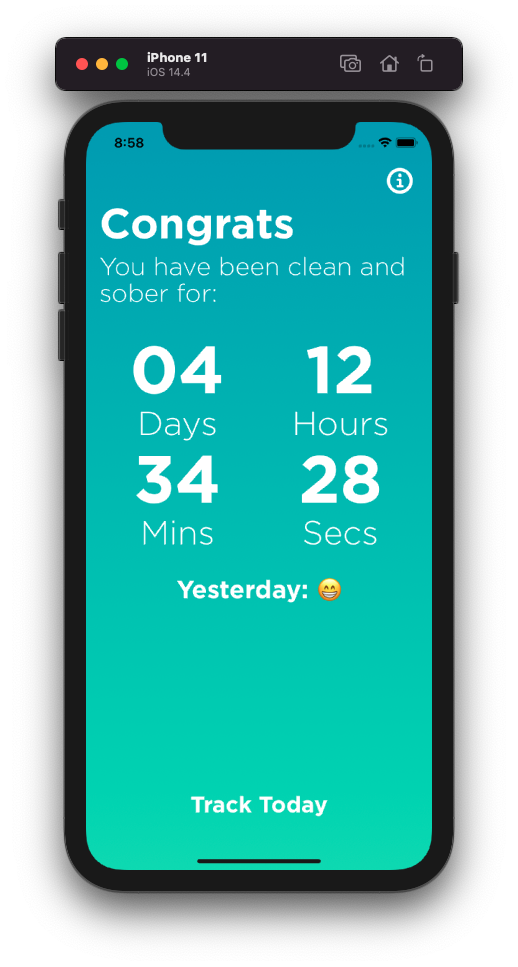
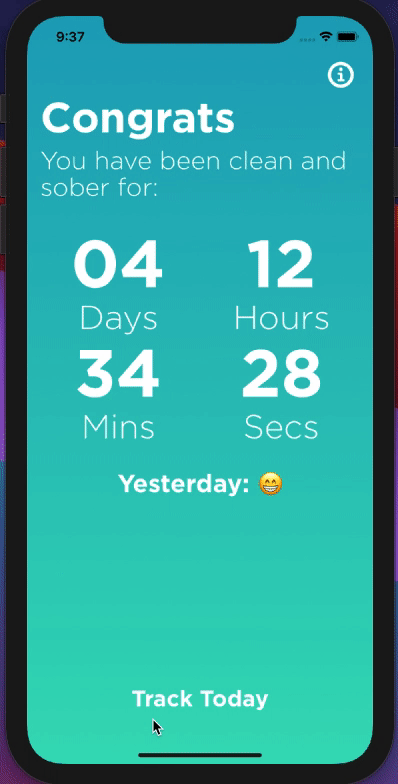
The dashboard is the main view of the app. This is where the user will land most of the time. Aside of huge timer, it’s set with two mains buttons, one to get more information, one to log the progress for your journey.
Making those small time counter as separate view tidy up a lot of code and with some binding system, it’s going to be really easy to refresh it. SwiftUI and Combine looks really powerful for those implementation
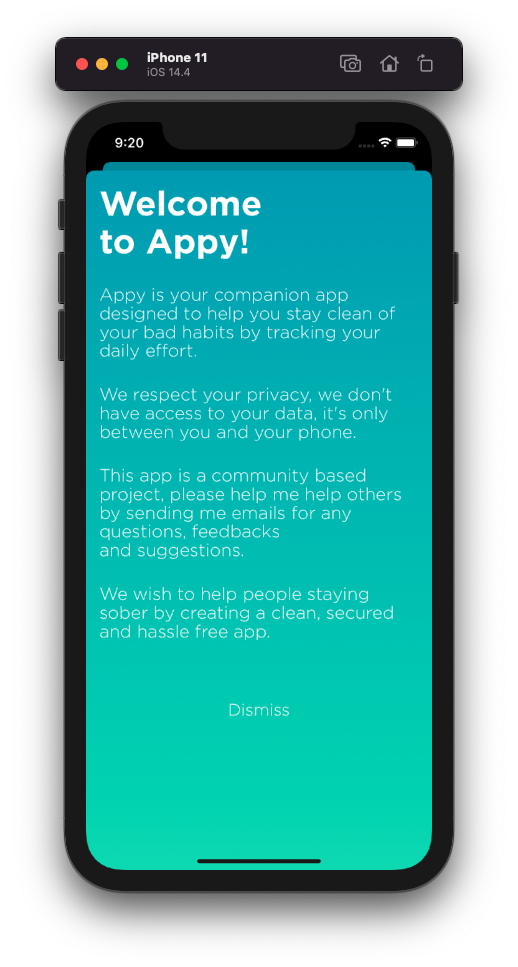
On the top right corner, the user can access the app information view. It’s also a very simple content. Like many other apps I’ve built, it’s aimed to help people, so I’m always available for feedback. At the bottom of the view, users can send open a mail to send me feedbacks of questions.
This button navigation to the email become a much bigger challenge that I anticipated. In the UIKit version, I’ve used MFMailComposeViewController to open Mail client with an email pre-filled. However, this view isn’t available from SwiftUI.
Straight from the top, MFMailComposeViewControllerDelegate is expecting to be an NSObjectProtocol where the SwiftUI view is a struct. No choice, I’ll have to bridge back to UIKit.
First, I need a new class that will be the delegate of my view controller and handle when to dismiss it.
import MessageUI
import SwiftUI

class MailControllerDelegate: NSObject, MFMailComposeViewControllerDelegate {

    @Binding var isPresented: Bool

    init(isPresented: Binding<Bool>) {
        _isPresented = isPresented
    }

    func mailComposeController(_ controller: MFMailComposeViewController,
                               didFinishWith result: MFMailComposeResult,
                               error: Error?) {
        isPresented = false
    }
}
I will also need a new view representation to bridge it back to SwiftUI world.
struct MailView: UIViewControllerRepresentable {
    typealias Coordinator = MailControllerDelegate

    @Binding var isPresented: Bool

    func makeCoordinator() -> MailControllerDelegate {
        MailControllerDelegate(isPresented: $isPresented)
    }

    func makeUIViewController(context: UIViewControllerRepresentableContext<MailView>) -> MFMailComposeViewController {
        let viewController = MFMailComposeViewController()
        viewController.mailComposeDelegate = context.coordinator
        return viewController
    }

    func updateUIViewController(_ uiViewController: MFMailComposeViewController,
                                context: UIViewControllerRepresentableContext<MailView>) {

    }
}
Finally, I can use it into my SwiftUI views with a specific condition to display it.
struct InformationBottomView: View {

    @State private var isEmailPresented = false

    var body: some View {
        VStack(alignment: .center,
                spacing: 5) {

            if MFMailComposeViewController.canSendMail() {
                emailButton
                    .sheet(isPresented: $isEmailPresented) {
                        MailView(isPresented: $isEmailPresented)
                    }
            }

            closeButton
        }
    }
}
Unfortunately, it’s not available on simulator but it works decently on physical device.
The final part of the application is to be able to log the user daily progress. That will be the last step.
Logging
To add new record to the user progress, the app captures it through two views:
- If the user stayed sober
- How the user feel today.
The flow is presented as a sheet but with a NavigationView at its root, to be able to go through those two views.
Unfortunately, when the user finishes the flow, I cannot use presentationMode to dismiss the modal display and here is why.
If you Google how to dismiss or pop a view, everything point to the presentationMode. However, to dismiss a modal navigation view from a detailed one is not that easy.
presentationMode: A binding to the current presentation mode of the view associated with this environment.
Reading the documentation, if I use this variable, I can only pop to the previous screen, I cannot dismiss the whole stack.
In UIKit, we could get access to the navigation controller from a child view controller and turn things around, but not in SwiftUI.
To work around this, I’ve came across this solution that explain how to create our own environment key, so that the detail view will get access to the sheet state.
struct ShowingSheetKey: EnvironmentKey {
    static let defaultValue: Binding<Bool>? = nil
}

extension EnvironmentValues {
    var showingSheet: Binding<Bool>? {
        get { self[ShowingSheetKey.self] }
        set { self[ShowingSheetKey.self] = newValue }
    }
}
Now, I can bind the dashboard toggle to the presented view through the environment storage.
struct DashboardView: View {

    @State private var isLoggerPresented = false

    var body: some View {
        VStack {
            // ...

            createButton
                .sheet(isPresented: $isLoggerPresented, content: {
                    NavigationView {
                        LogActivityView()
                    }
                    .environment(\.showingSheet, $isLoggerPresented)
                })
        }
    }
}

struct RatingView: View {
    @Environment(\.showingSheet) var showingSheet

    var body: some View {
        ScrollView {
            LazyVStack {
                ForEach(data, id: \.self) {
                    RatingViewRow(rating: $0)
                    .onTapGesture {
                        // dismissing from detail view on tap
                        showingSheet?.wrappedValue = false
                    }
                }
            }
        }
    }
Here is how it looks.
Great, that’s exactly what we wanted!
That’s it for the navigation and the design code migration. At the end, I got rid of the AppDelegate, view controllers and storyboards for a simpler set of SwiftUI views.
If SwiftUI makes it really easy to prototype and get this new code ready, there are still some challenges regarding the navigation and older components.
It almost always requires to bridge back to UIKit. It happened when using AVFoundation framework, it happened again today when using MessageUI framework.
Those are pain points that you want to anticipate before starting a code migration at a bigger scale, but we managed to work around it today.
Next step will be to tackle database and prepare the business logic to make the app work.
See you next week