How to use Javascript with WKWebView in Swift
Embedding web into native apps is a frequent approach to quickly add content into a mobile app. It can be for a contact form but also for more complex content to bootstrap a missing native feature. But you can go further and build a two bridge between Web and Mobile using JavaScript and Swift.
Historically, iOS allows to use embedding web into UIWebView. It’s handy as a first approach, handling cookies on it’s own but quite limited on the JavaScript side, mostly because of its missing core engine.
Here comes Webkit, a framework allowing developers to use the same browser engine that powers Safari.
UPDATE - April 2020: This code has been updated for Swift 5UIWebView being deprecated, the only way forward for webviews in iOS will be with WKWebView.
Prerequisites
To trigger JavaScript content from Swift in iOS, I’ll use an html file with a very basic form in it and two JavaScript functions:
- A login action, forwarding the data form to the native app
- A method to change the title of the page
It can look like those following
function sendLoginAction() {
   try {
       webkit.messageHandlers.loginAction.postMessage(
           document.getElementById("email").value + " " + document.getElementById("password").value
       );
   } catch(err) {
       console.log('The native context does not exist yet');
   }
}

function mobileHeader() {
   document.querySelector('h1').innerHTML = "WKWebView Mobile";
}
From Swift to JavaScript
WKWebView can be initialised with a custom configuration including its user agent and its data store for the session. It also lets you setup a controller to inject scripts or post messages to a web view. This is the one we are going to use to send a call from iOS to JavaScript.
First we need to create this user content controller and create the user script we want to handle.
let contentController = WKUserContentController()
let userScript = WKUserScript(
   source: "mobileHeader()",
   injectionTime: .atDocumentEnd,
   forMainFrameOnly: true
)
contentController.addUserScript(userScript)
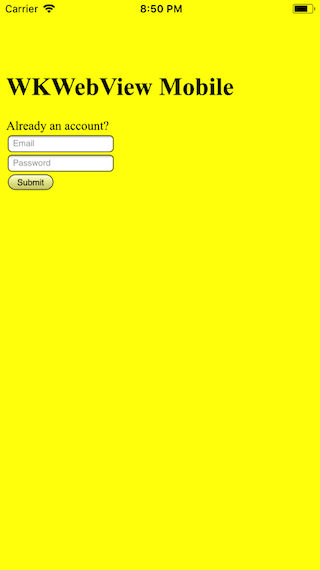
This code will inject the source code, as soon at the document has finished loading. It will actually execute mobileHeader and update the h1 title from the JavaScript method seen above.
Then we’ll instantiate the web configuration with that controller and finally gives it to the WKWebView itself
let config = WKWebViewConfiguration()
config.userContentController = contentController
self.webView = WKWebView(frame: self.view.bounds, configuration: config)
Finally, after adding my web view to the main one, here is my result, the first one is loaded from Safari.

The second one comes from the iOS simulator.
So we can see how to add JavaScript to the web view from iOS and how to execute it. Now let’s see from JavaScript to Swift.
JavaScript to Swift
On this side, Webkit is well organised, there is already a protocol to handle that on it’s own: WKScriptMessageHandler
From the Apple documentation:
A class conforming to the WKScriptMessageHandler protocol provides a method for receiving messages from JavaScript running in a webpage.
Exactly what we need.
Once added to your class, we’re going to implement it’s userContentController to receive the content send from JavaScript, limiting only to the loginAction we want for now.
extension ViewController: WKScriptMessageHandler {
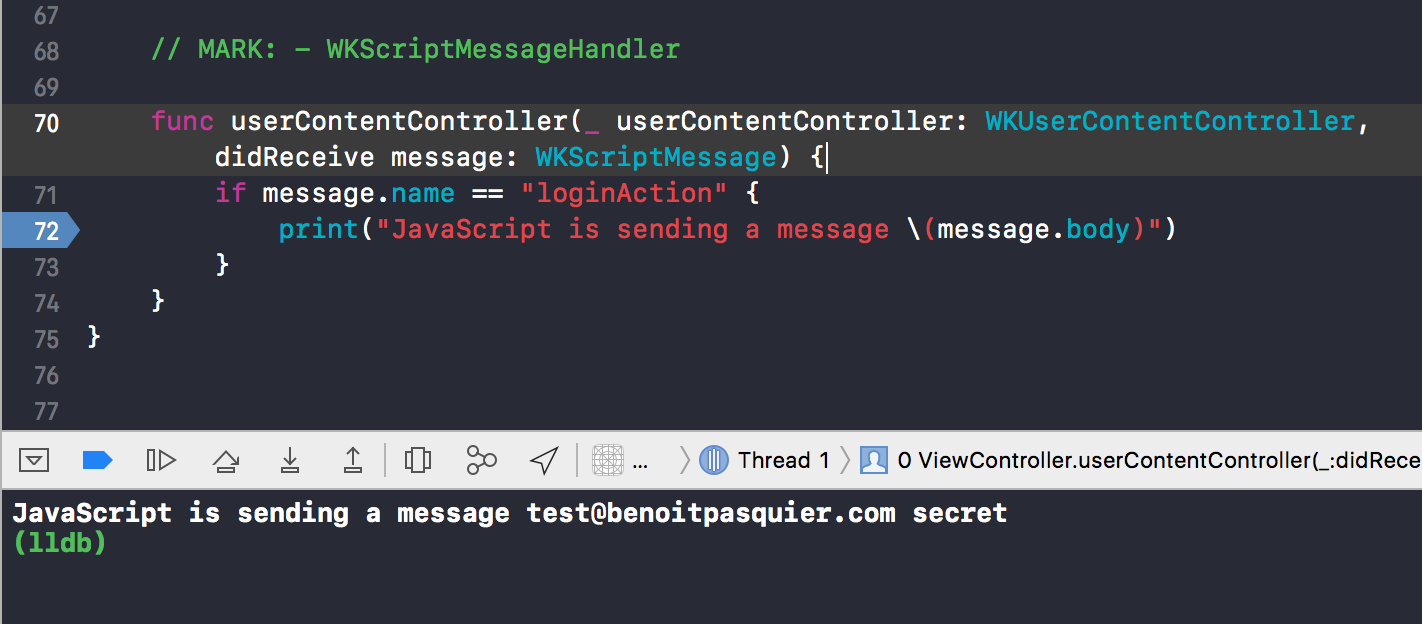
func userContentController(_ userContentController: WKUserContentController, didReceive message: WKScriptMessage) {
if message.name == "loginAction" {
print("JavaScript is sending a message \(message.body)")
}
}
}
Finally, we are going to add a listener to this event into our WKUserContentController previously created
contentController.add(self, name: "loginAction”)
Running again on my iOS simulator, after filling the form, I can finally catch the values sent back.
At the end we managed to iOS too. However, there is way more to discover around Webkit and it’s navigation, how to handle loading and cookies in it that I’ll cover in another blog post.
Meanwhile, here is the WebKit sample project. I also included the web pages used as resources next to it.